Light Meter #
Description #
1. Set the ISO #
Tap the ISO button to select your film speed.
2. Meter the scene #
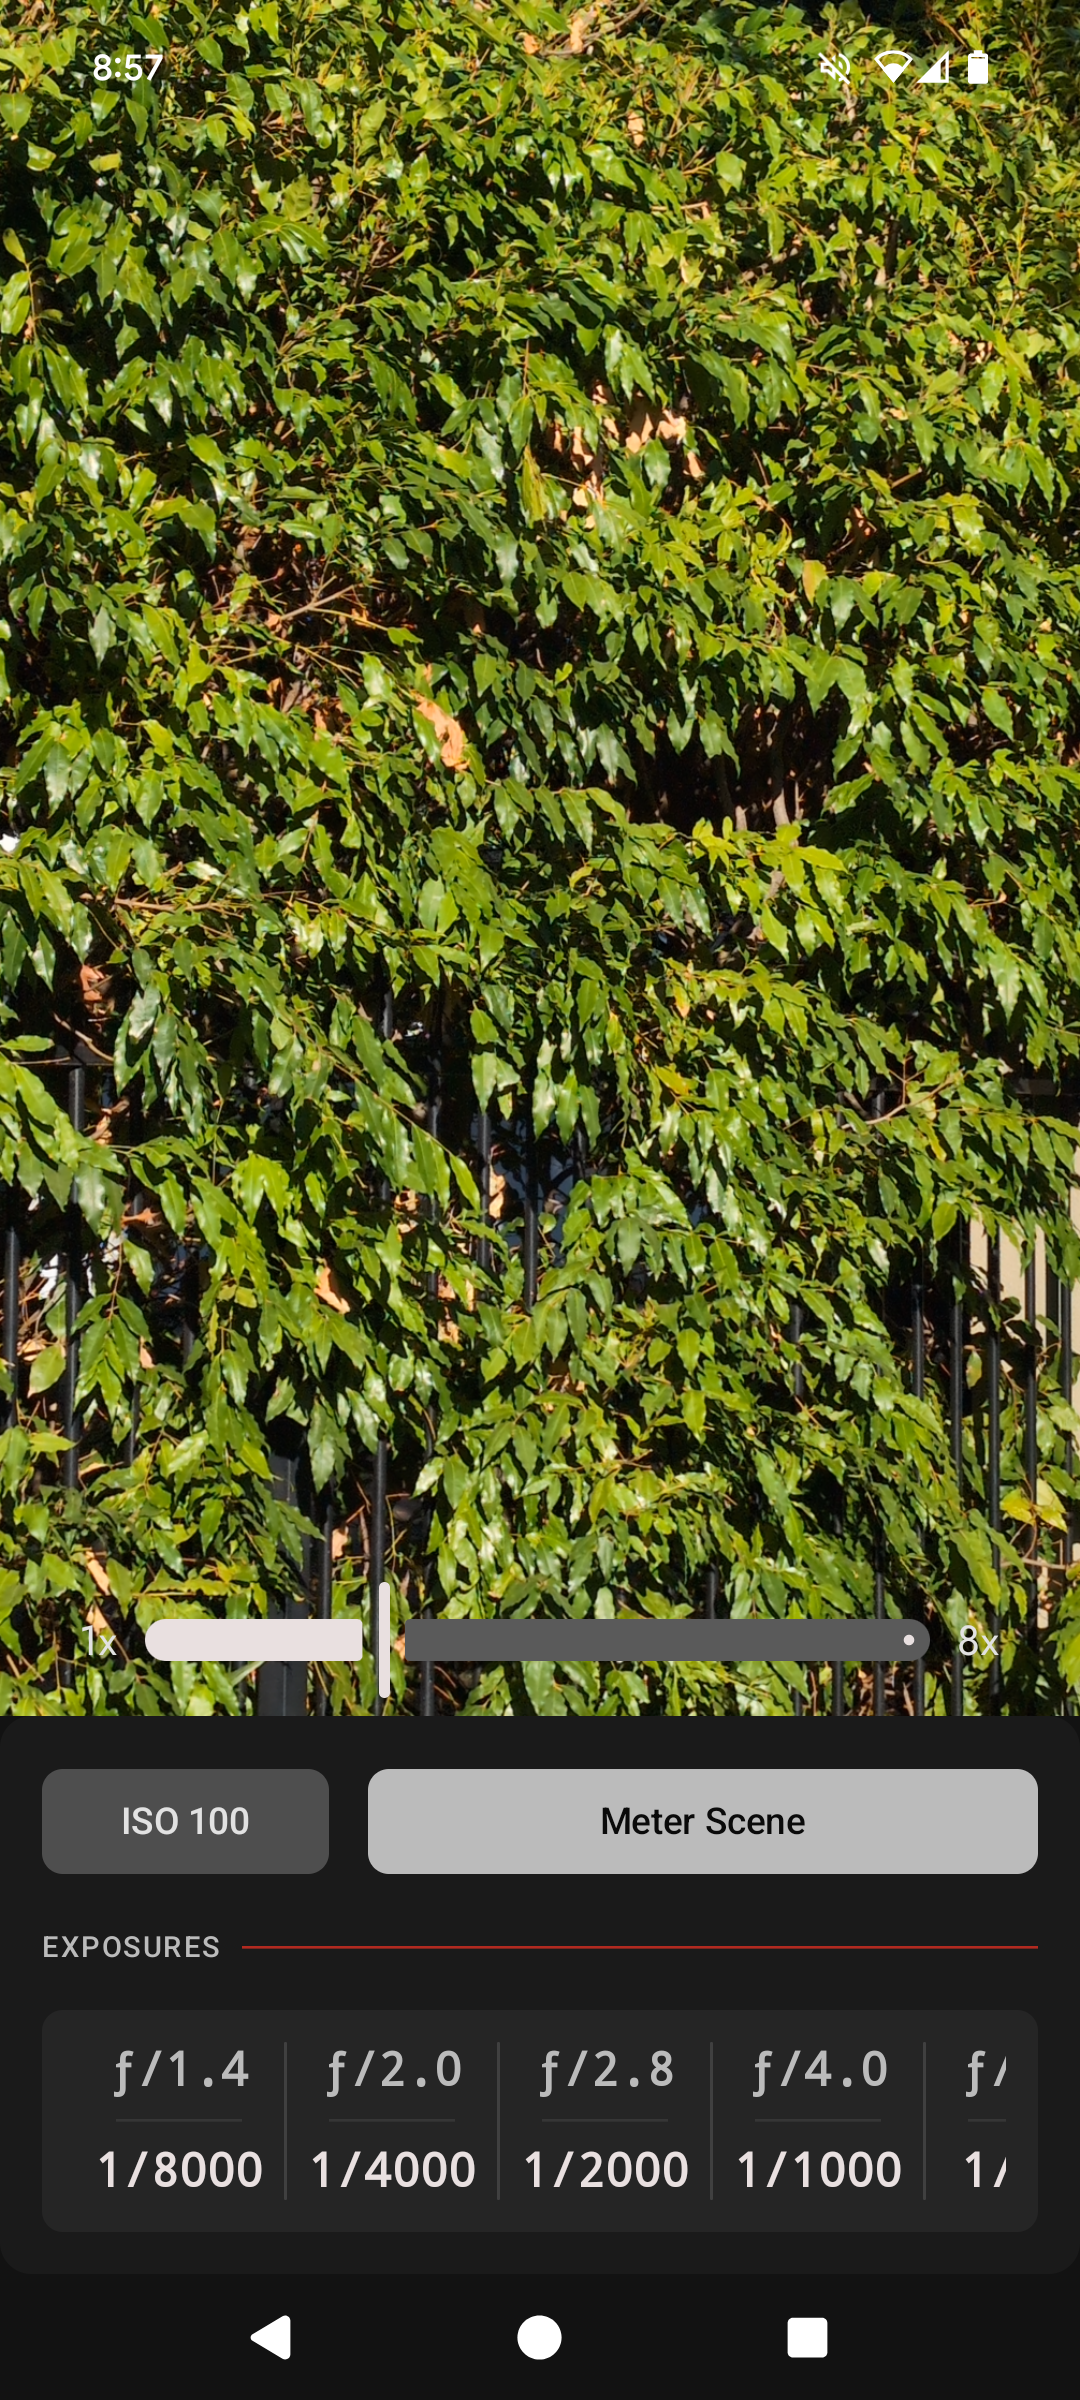
Zoom until the subject you want correctly exposed fills the screen and tap Meter Scene.
3. Choose your exposure #
After metering, you’ll see a table of equivalent exposures. Choose one. Wider apertures (f/1.4, f/2.8) give a shallow depth of field while narrower apertures put more in focus.
–
Theory of the Metering Algorithm
- The light meter is designed to act as both a Spot and wide-scene meter.
- Zoom until the subject you want correctly exposed fills the frame and tap Meter Scene. This will give you readings for the metered subject to be in the middle of the exposure range.
- Meter several points in the scene to ensure correct exposure.
Tips:
- For portraits, zoom until the subject’s face fills the frame and meter. Depending on scene lighting, consider adding a couple of stops of light to the metered exposure so the face exposes brighter.
- For landscapes, beware the dynamic range of the scene. Meter the sky and landscape separately. Bias for an exposure closer to that of the landscape to ensure it is correctly exposed.
- For city nightscapes, under and overexposure of different parts of the frame is inevitable due to the extreme dynamic range. Focus on metering the subject, and consider adding an extra few stops of light so that it appears bright.
- When exposure times are longer than 1 second, use the Reciprocity Calculator feature of APA to calculate correct exposure times.
- Disable setting Display Mechanical Shutter Speeds to get precise readings. Important for shutter speeds longer than 1 second.
Screenshots #
Meter the wide scene, or zoom to specific areas (shadows, highlights) to confirm correct exposures.